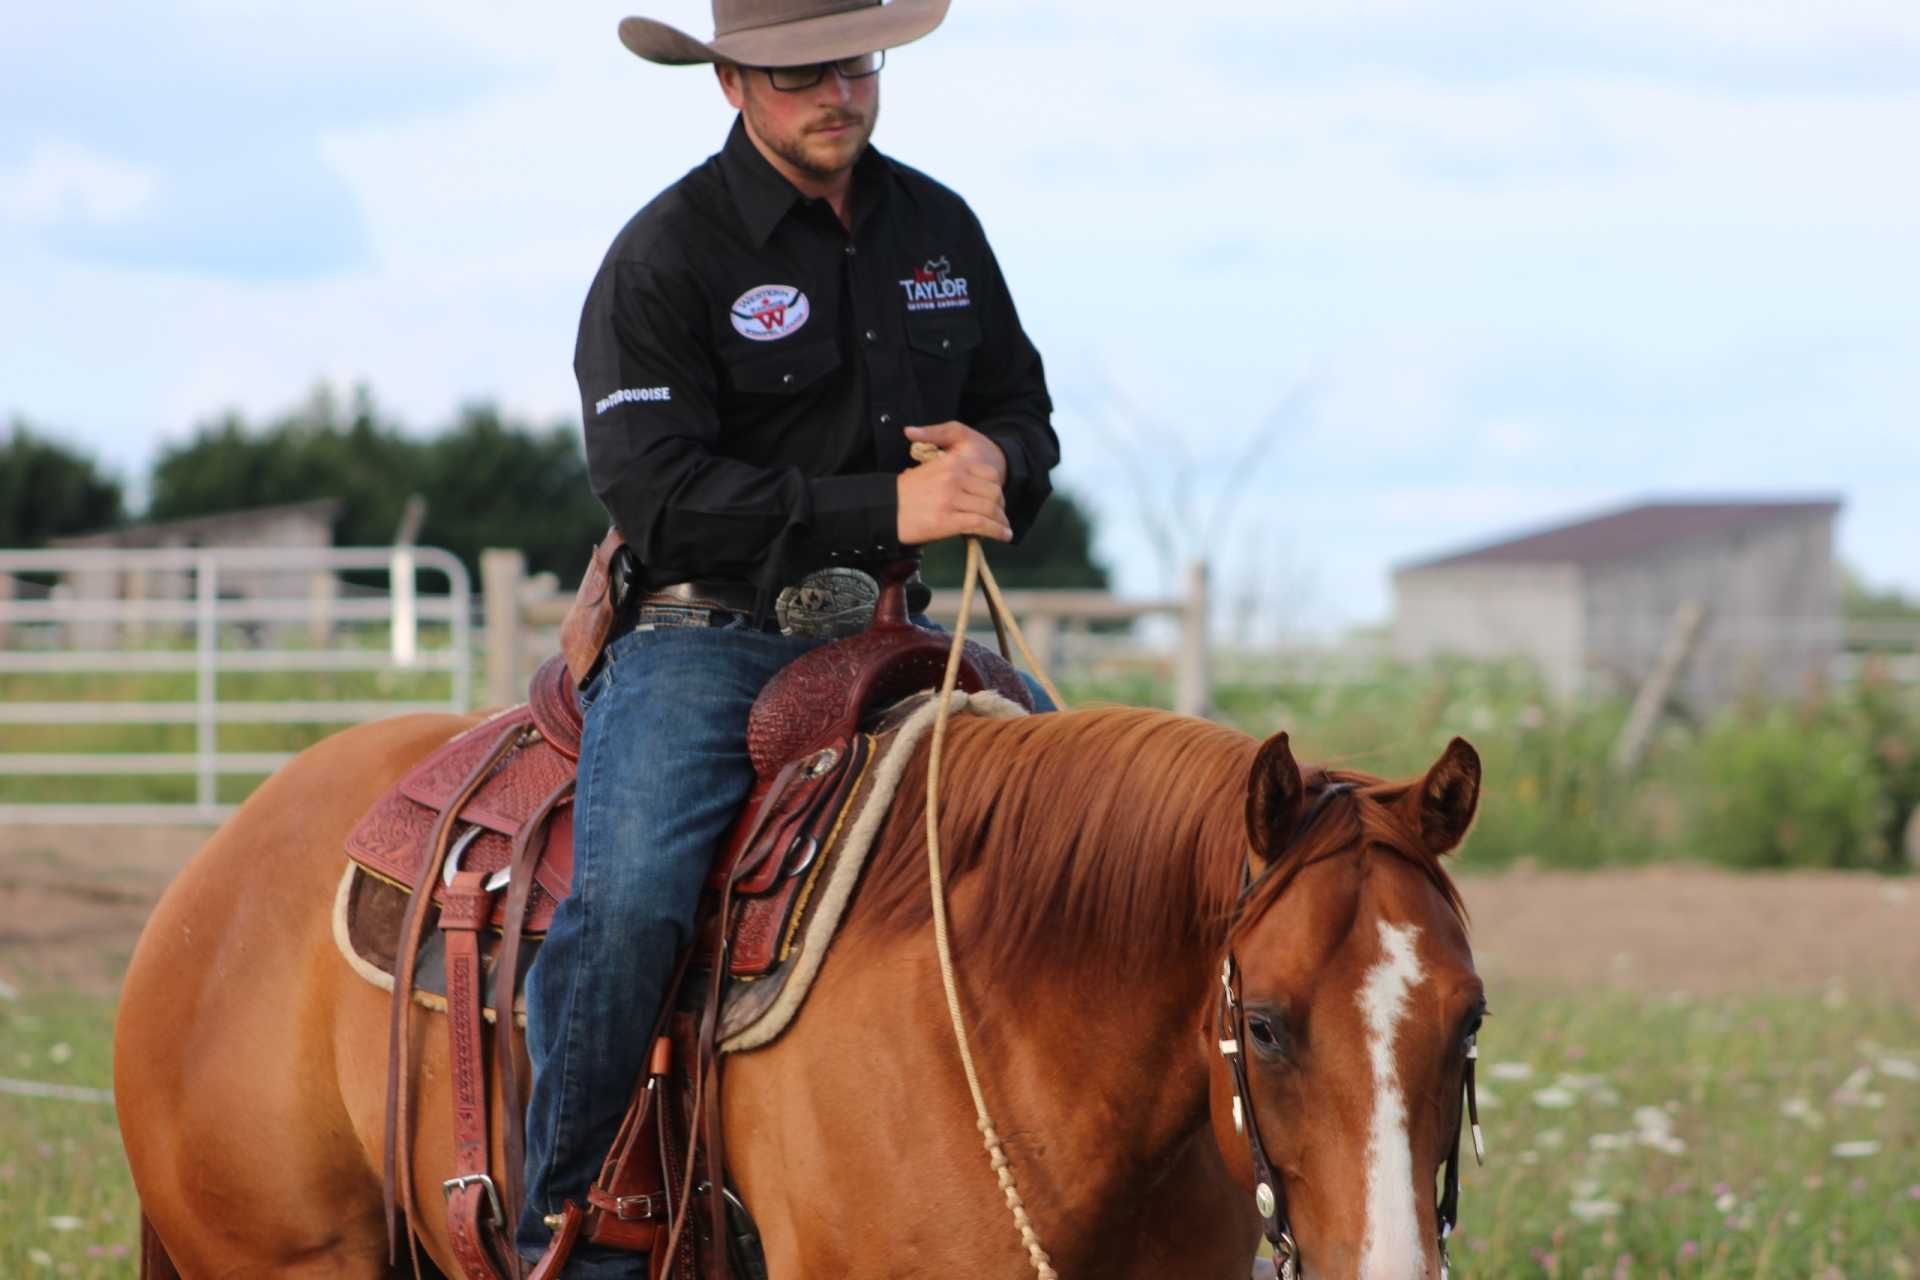
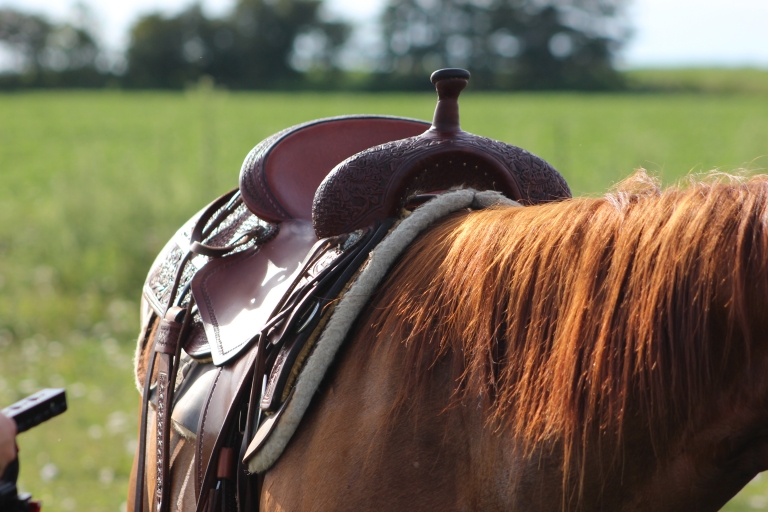
Although riding bareback looks cool in the movies, it’s an easy way for beginners to fall off and get hurt. A saddle is a simple way to keep yourself safe. In this article, we’ll cover everything you need to know about saddling a western horse.
Why is it important to saddle your horse correctly?
Putting on a saddle correctly is paramount, both for your safety and your horse’s. Imagine if you had to do your job in a pair of ill-fitting boots or while wearing pants two sizes too small. Proper saddle fit and proper saddling technique can make a world of difference for you and your horse.
Proper saddling maximizes the horse’s performance and comfort
Making sure the saddle is on correctly ensures your horse is comfortable. When a horse is comfortable, it’s able to perform its job with ease, meaning you’ll have a much better ride.
Correct saddling reduces the risk of injury
An ill-fitting saddle can lead to pain or injury, including a sore back. When a horse’s back is sore, it’s more likely to act out and start bucking or rearing. Taking a few extra minutes while tacking up to ensure the saddle is on correctly can help prevent a world of hurt for your horse.
A properly situated saddle helps center the rider
Maintaining your balance on a horse is hard. Making sure the saddle is centered and in the correct place puts your center of balance over the horse’s center, making it easy for the two of you to move together.
How to saddle your horse correctly
Here is a step-by-step guide to saddling your horse correctly.
Settle your horse
To saddle your horse, your horse must first be calm and still. Teaching your horse how to ground tie, or to stand still on command when not tied to anything, can make saddling your horse a breeze.
Clean your horse by brushing it
Before you reach for your saddle, make sure your horse is clean. Start with a curry comb to loosen any dirt. Then, use a hard brush to clean the loosened dirt away. Make firm, sweeping motions in the same direction as your horse’s hair.
The saddle pad rubs against your horse while you ride, and this motion can irritate a dirty horse, causing him to shake to try and remove the irritation.
Inspect all your equipment for any broken parts
Give your saddle pad and saddle a once-over. Make sure the underside of the saddle pad (the part that touches your horse’s back) is clean. Check all the leather on the saddle and make sure it’s in good condition. If anything is broken or damaged, do not use the saddle (it’s not safe for you or your horse).
Place your pad on your horse
A saddle pad makes the saddle more comfortable for the horse and helps protect its withers and back. Place the pad on top of your horse’s withers and center it on your horse’s spine.
Put the saddle gently on the horse
Grab the pommel with your left hand and the skirt with your right hand. Place the right stirrup on the horn and place the girth strap across the seat (to keep them out of the way). Lift the saddle and gently lower it onto your horse’s back, placing the pommel above and just behind the withers.
Adjust the saddle and get it in the right position
Put your hand on the horn and give the saddle a little shake to help it settle into place. Then, make sure the saddle is sitting in the pocket position, or right behind the horse’s shoulder blades. This makes sure the horse can move freely.
Fix the gullet
Pull the front of the saddle pad up under the gullet to clear the withers. You should be able to place your cupped hand between the saddle pad and your horse’s back. This relieves any pressure on the withers.
Position and center your cinch
Position and center your cinch, making sure you have the correct size for your saddle and horse. The cinch should sit three to four inches above the elbow.
Tighten the saddle
Take the tie strap and pull it through the back side of the ring on the cinch. Pull the strap up and weave it through the dee ring (with the tip headed towards the horse. Pull it down and back through the back side of the cinch ring.
This next step is the tricky part. Pull the strap through the dee ring one more time but pull it towards the left. Then, pull it through the back of the right side of the dee ring angled slightly up. Finally, pull the end through the loop you just created and down to tighten the cinch.
Adjust your horse to the saddle
Your horse needs a chance to adjust to the saddle and release the air it held in while you tightened the cinch initially. Hand-walk your horse around for a few minutes, then gently tighten the cinch again when you’re ready to get on.
Get riding!
If you’ve followed all these steps, you’re ready to ride!
Quick tips for saddling your horse
Here are a few bonus tips for saddling your horse.
- Make sure the saddle is level
- Make sure the saddle is centered on the pad (and make sure the pad is centered over the spine)
- Tighten the cinch slowly (your horse will thank you)
Get the right saddle for your horse
Putting a saddle on correctly is important, but so is having a saddle that fits. For maximum comfort for you and your horse, Jim Taylor custom saddles are the way to go. A custom saddle is designed specifically for your horse (and you), meaning you’ll have a comfortable ride every time. Jim Taylor saddles are worn by many leading NRHA champions, including Chet Martin.


